Last Updated on April 2, 2026 by Don Gerig, RDCS
Before harmonic imaging, our imaging transducers had major limitations when it came to obtaining high-velocity gradients with continuous-waved (CW) Doppler. Two of the main restrictions included the ultrasound frequency (no ability to drop down to a lower frequency) and the large footprint of the transducer. The footprint caused limitations when angling the transducer between the rib cage for high Doppler velocities. In these situations, a non-imaging CW Doppler transducer would be used (commonly referred to as the Pedoff transducer).
PEDOFF TRANSDUCER
This non-imaging transducer is extremely helpful for obtaining high velocity gradients. With the probe being small in size, easy to hold and having a small footprint, it can easily be placed between the ribs to acquire the desired Doppler angle. The Pedoff probe has 2 large crystals: 1 that sends & 1 that receives signals. Having a higher signal-to-noise ratio allows the probe to recognize and display high velocities along the ultrasound beam pathway.
One of the main limitations to the Pedoff transducer is that it’s non-imaging, providing zero guidance to anatomical location and structures. Many clinicians joke about the love/hate relationship they have with the Pedoff probe. Love using it, because it better identifies stenotic gradients, especially in the presence of eccentric flow and challenging body habitus. Hate using it because you have zero imaging reference for us visual sonographers!
One of the most common reasons to dust off the Pedoff probe is to correctly identify severely stenotic valves with high velocity gradients. The two most common being: mitral and aortic stenosis.
SCANNING TECHNIQUES
Using CW Doppler involves understanding the physics behind the sound waves transmission, knowledge of cardiac anatomy & valvular audio sounds! There are 3 common locations to use the Pedoff probe:
- Apical Window
- Suprasternal Notch Window
- Right Parasternal Window
Acquiring the skill set to feel confident when using the Pedoff probe takes time and patience. The best advice is to close your eyes and listen, making slow tiny movements with the probe to bring in a strong audio and Doppler signal.
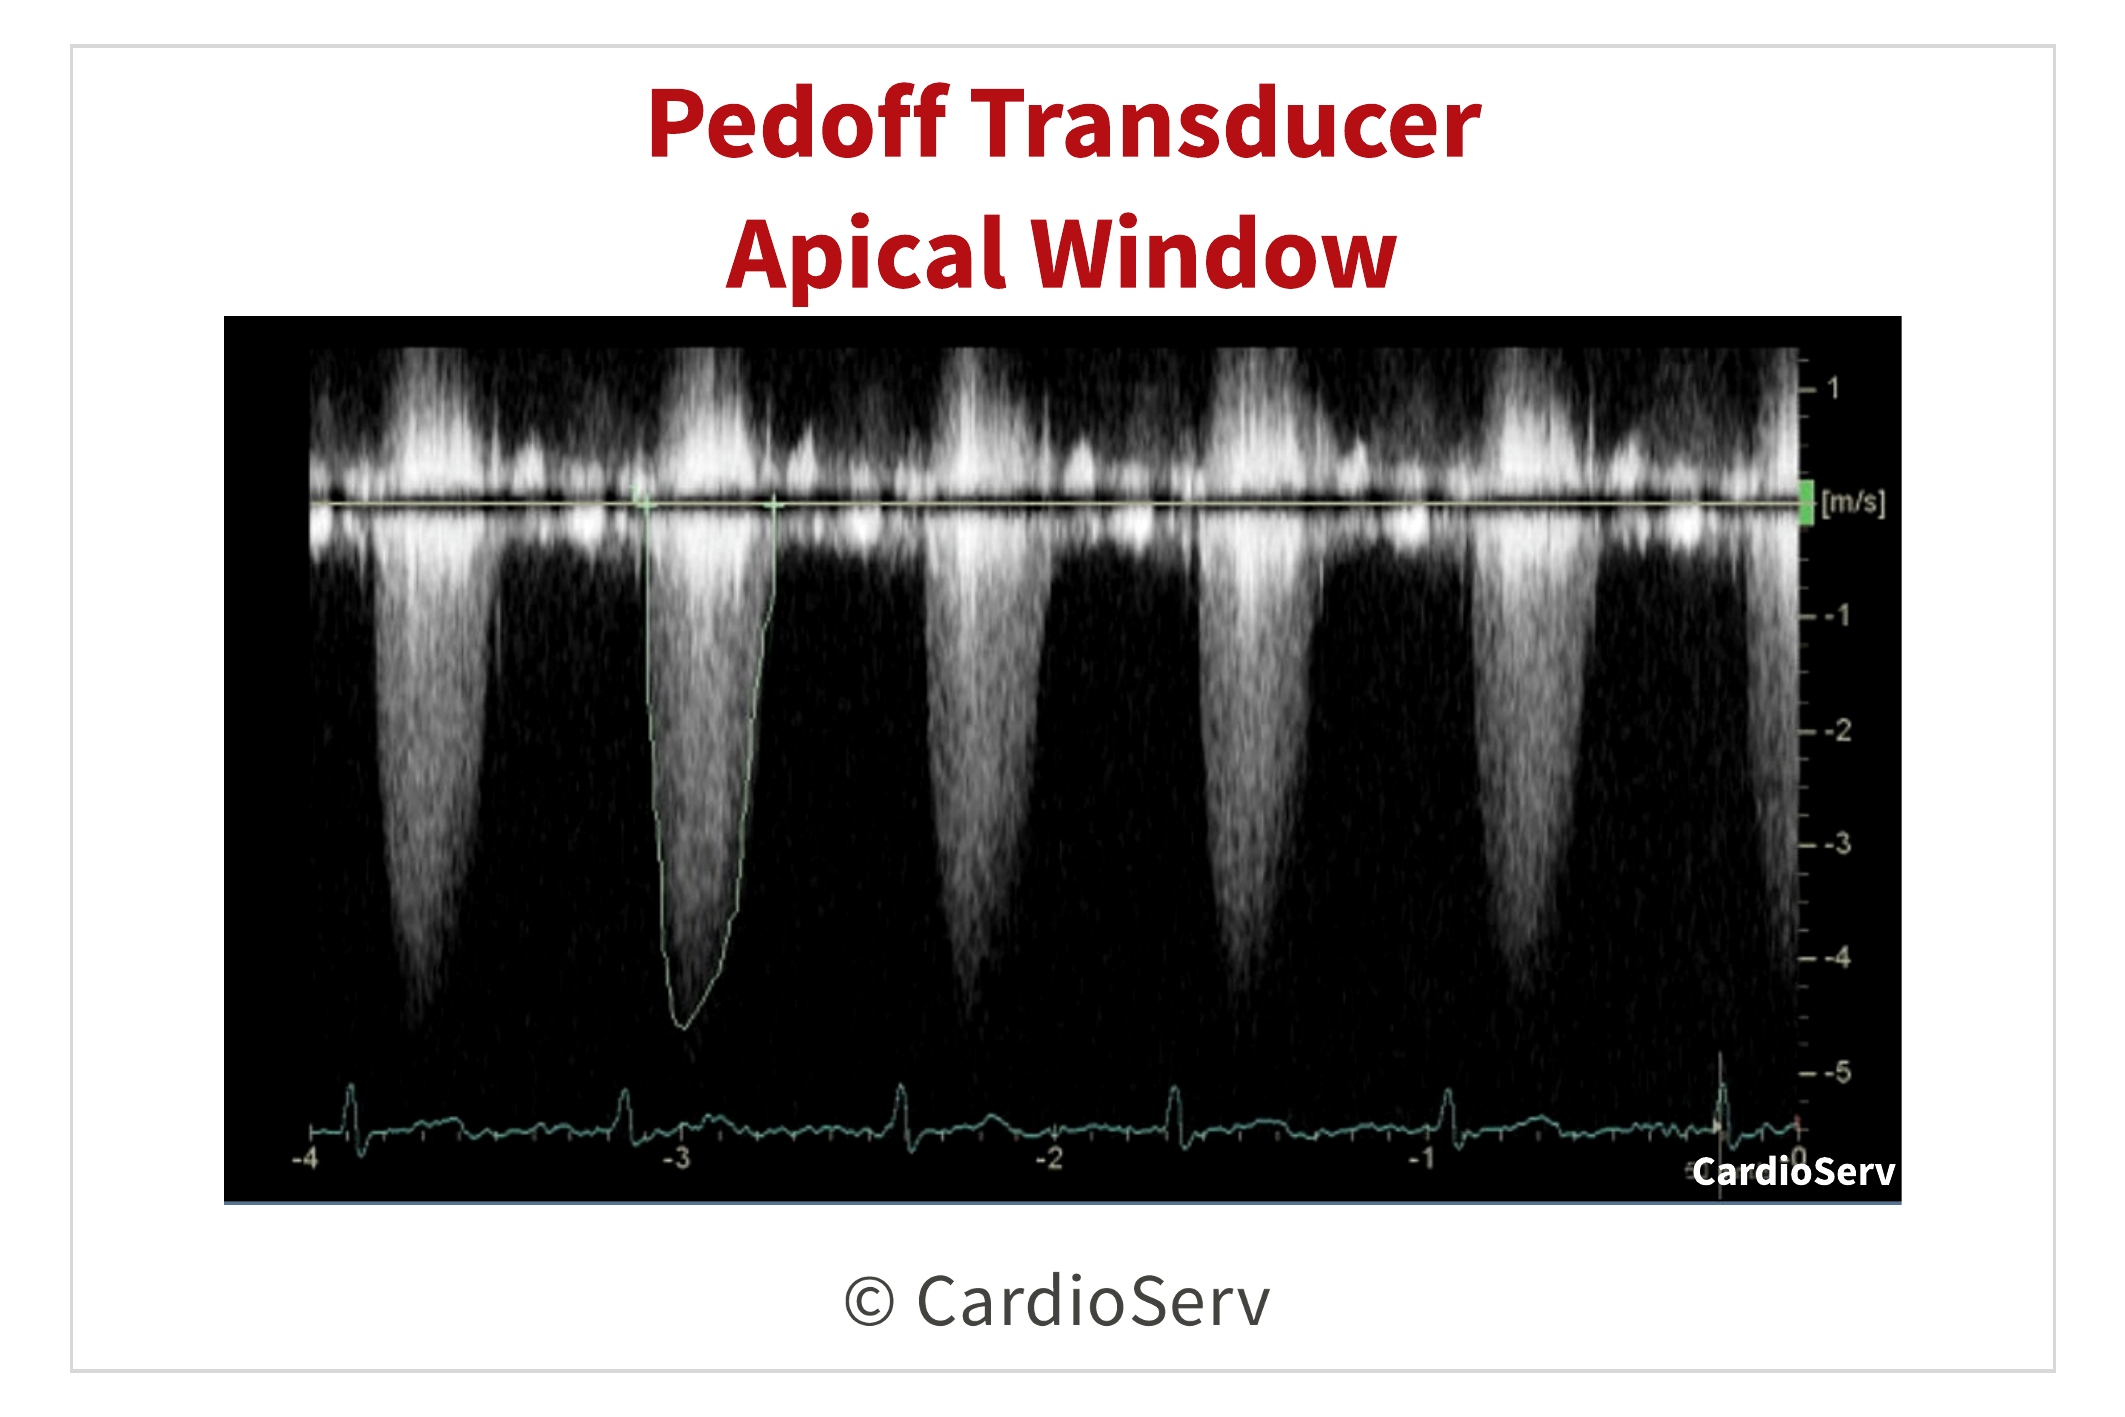
APICAL WINDOW
The apical window is the best place to start when using the Pedoff probe.
- Use your imaging transducer to locate your apical 5 chamber
- Mark the location on the patient’s body while switching to Pedoff probe
- Angle the transducer foot upwards between the patient’s right shoulder and neck
Tiny movements of the probe will provide audio and Doppler signals. This will help you identify the direction to move, in order to obtain the gradient. Think of the movements as if rotating from an apical 4 chamber to apical 5.
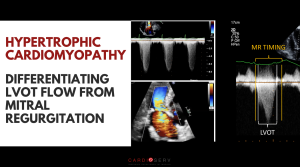
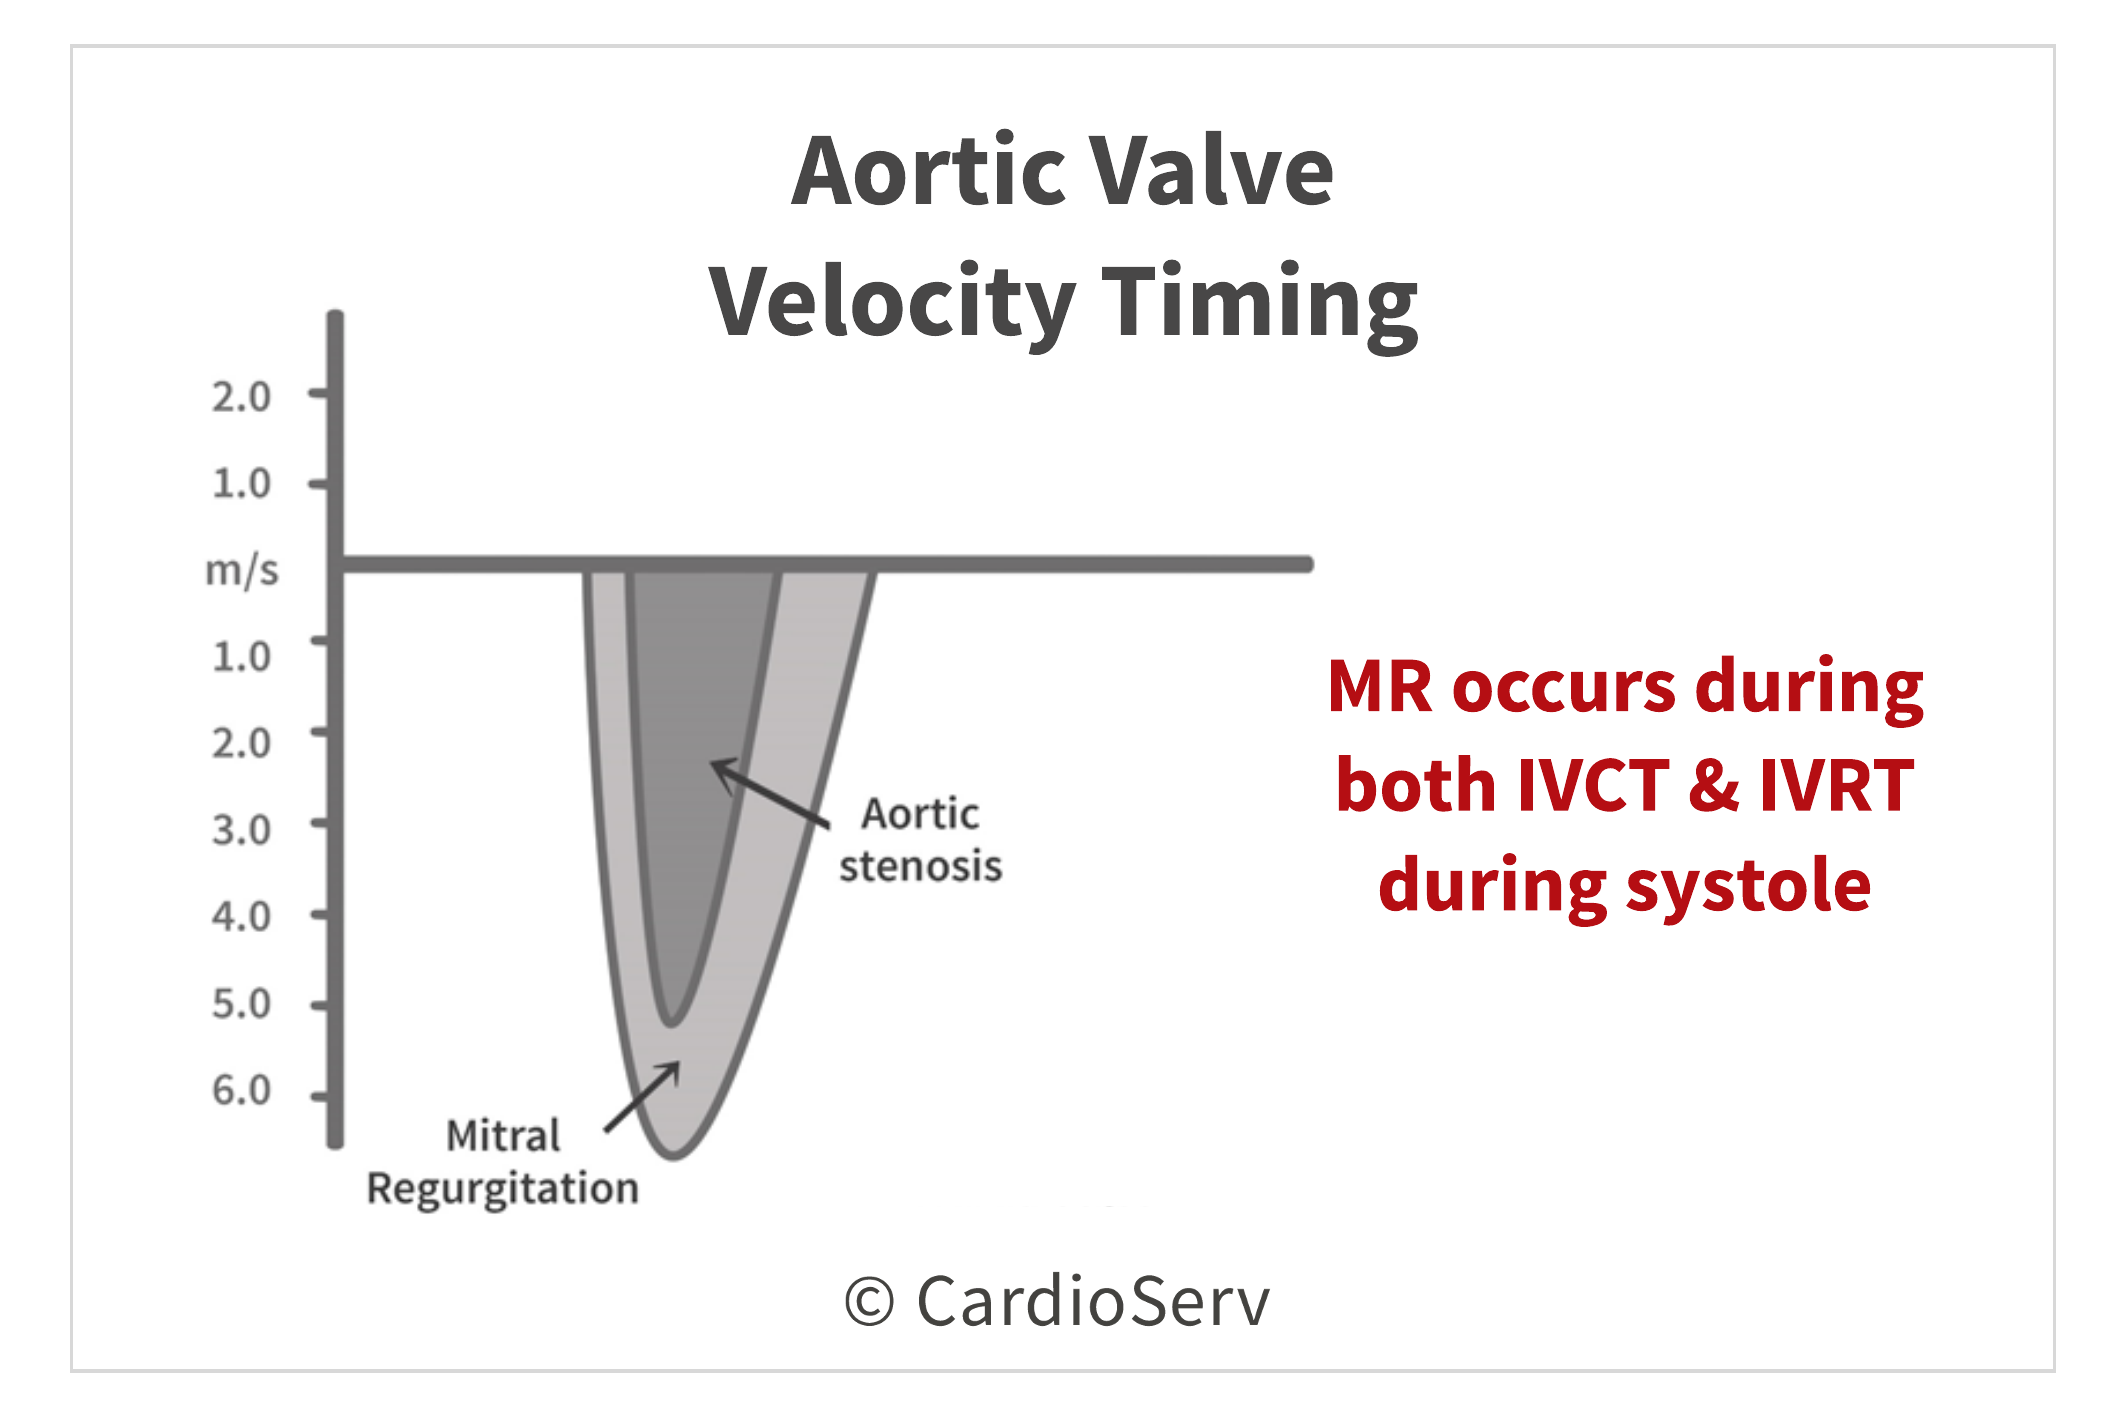
Understand the different appearances of mitral regurgitation (MR) vs. aortic velocity (AV)
- MR will have a rounder Doppler pattern at the peak velocity & will occur during IVCT and IVRT during systole
- AV will have a sharper Doppler pattern at the peak velocity & will occur after IVCT & before IVRT during systole
By identifying the Doppler pattern of the specific valve, it will help you know which way to angle the probe more! Understanding the anatomy of the heart also gives insight to which direction to tilt the transducer.
- Aortic valve is anterior (superior/towards front of chest) to the mitral valve
- Aortic valve is medial, towards patient midline/sternum
When evaluating for peak AV velocity in the apical window, the Doppler velocity will be below the baseline:
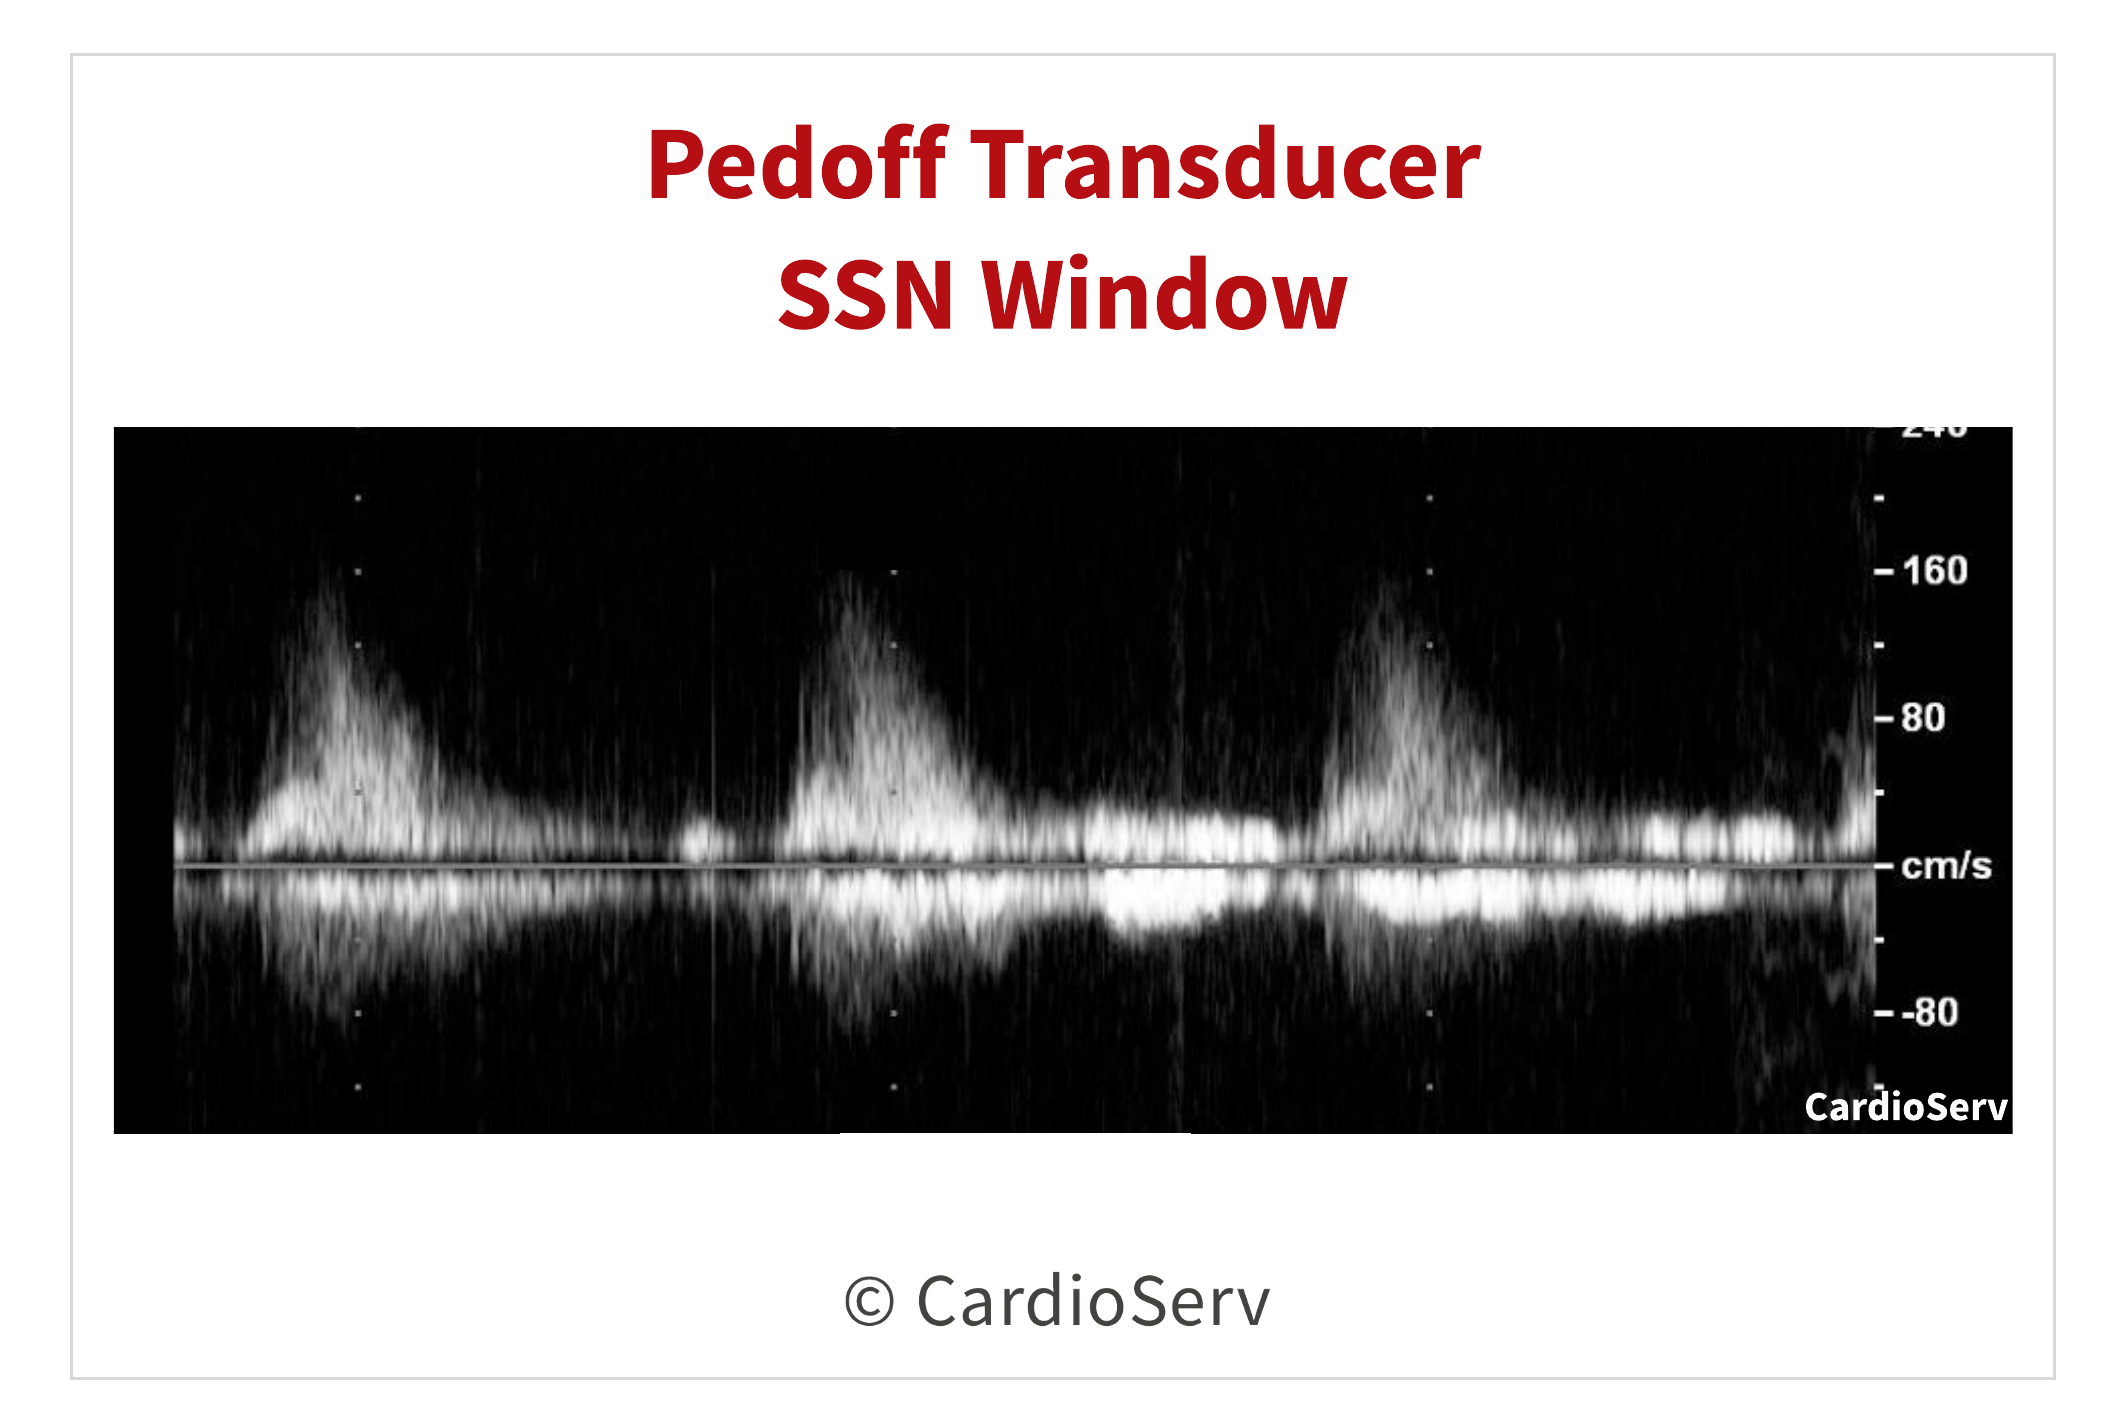
SUPRASTERNAL NOTCH
We can place the Pedoff probe in the suprasternal notch (SSN) window to obtain a velocity that will appear above the baseline.
- Move the patient’s pillow lower down between their shoulder blades
- The patient’s head will now be tilted back (head will be hanging off the pillow)
- Patient can turn their head to the right to make room for the transducer
- Angle the Pedoff probe towards the aortic root
- Making small movements, angle the probe to bring in velocity gradient
- Look for gradients ABOVE the baseline (remember the gradient is moving towards probe)
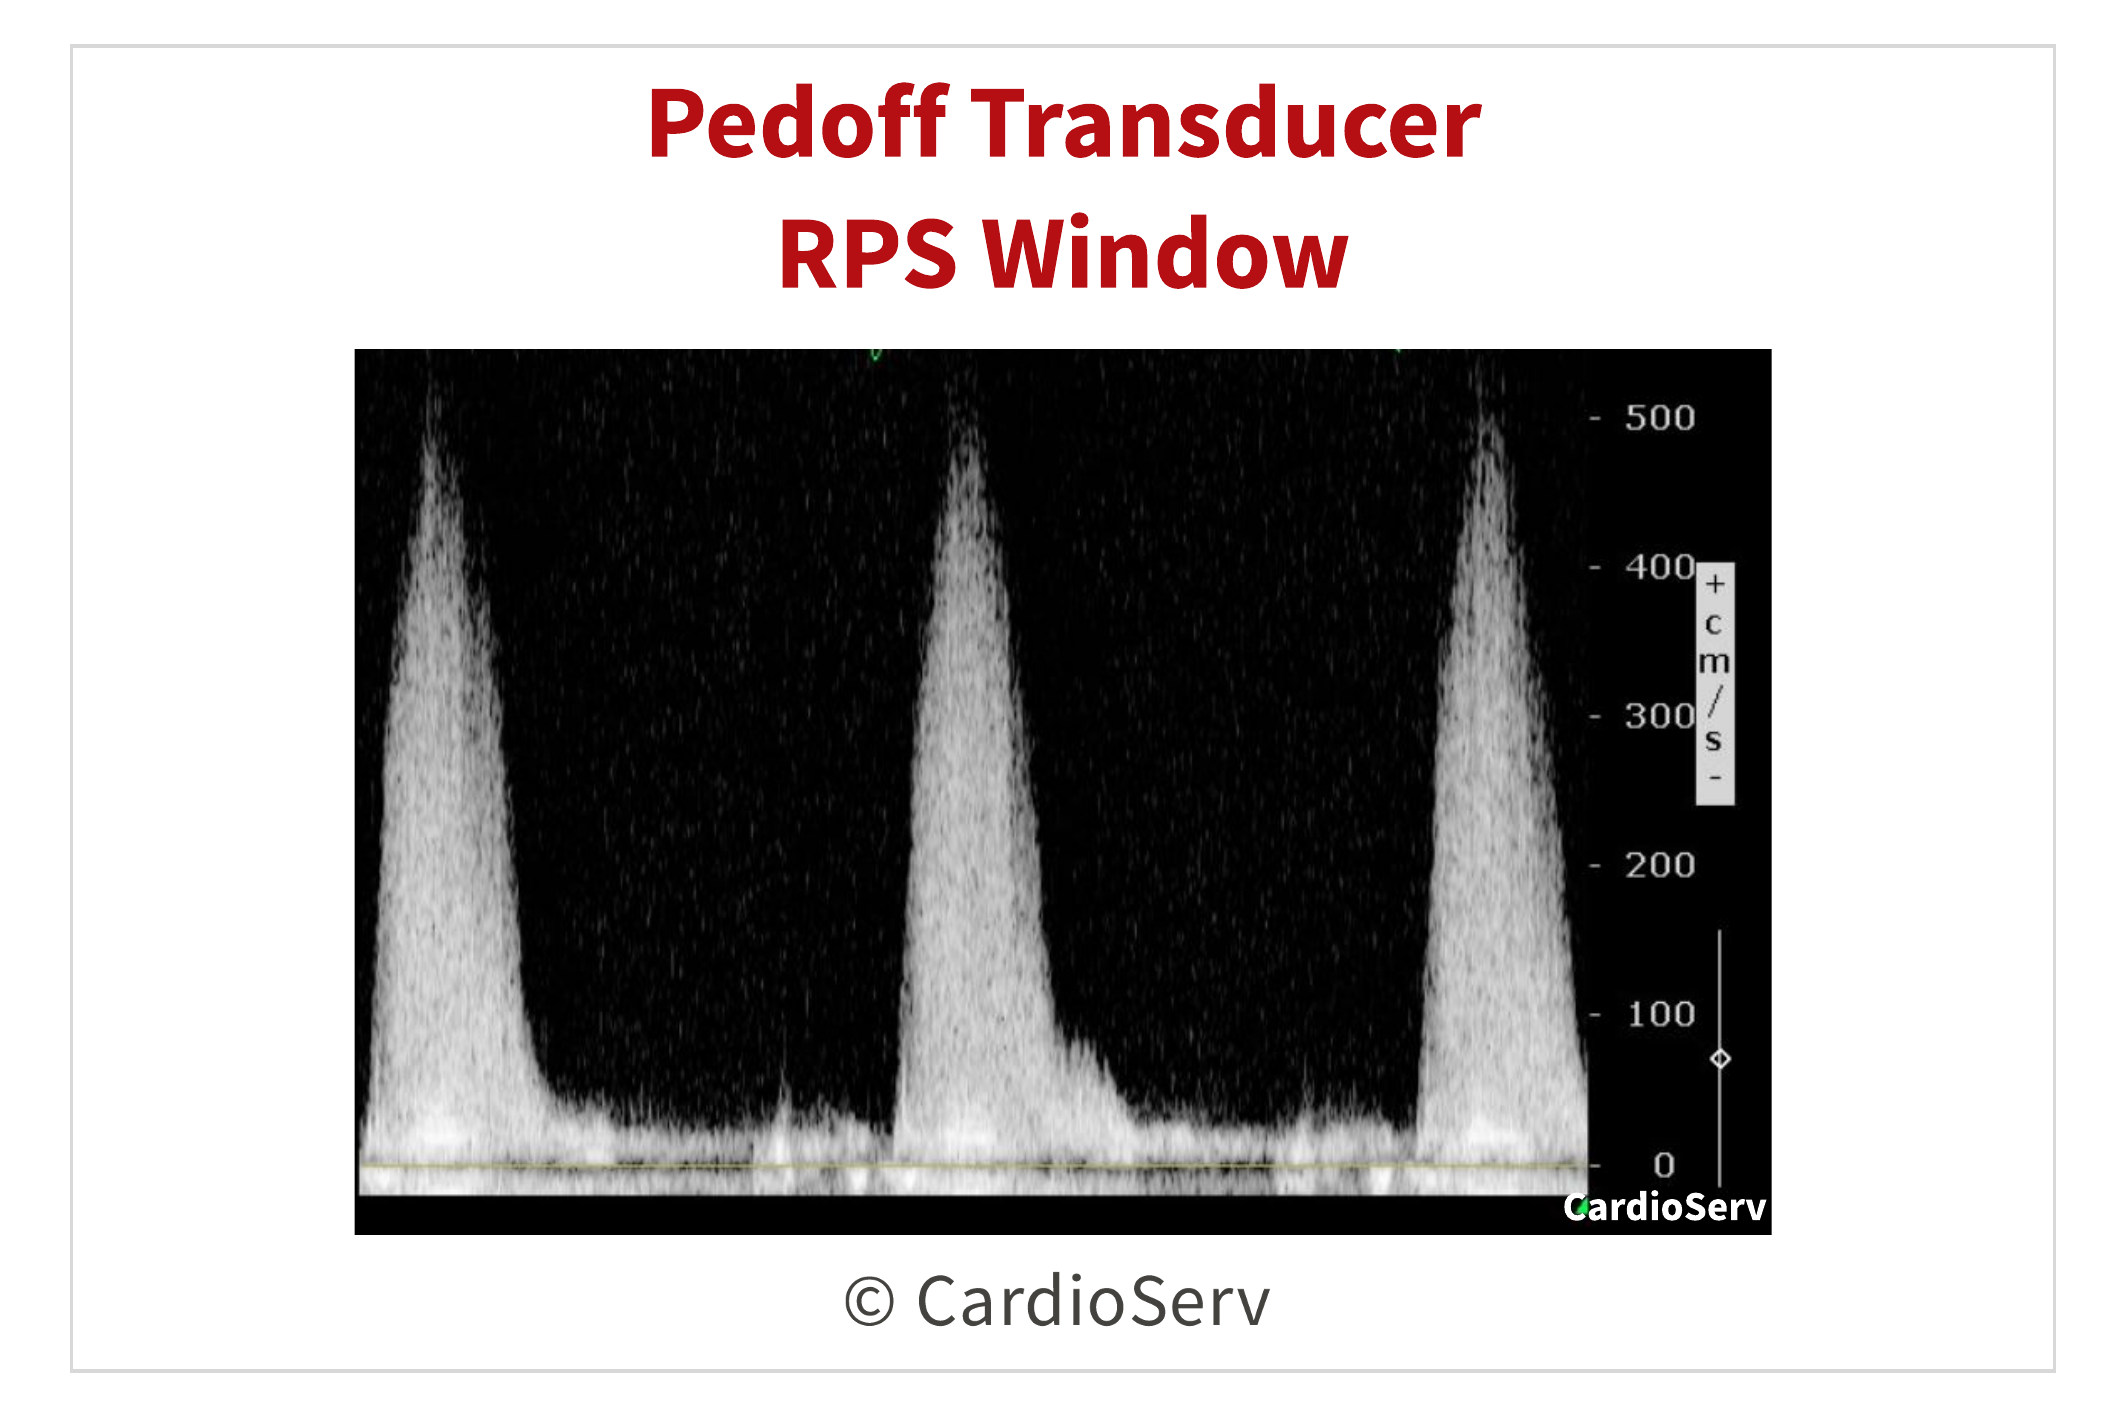
RIGHT PARASTERNAL WINDOW
Either you rock at obtaining the RPS velocity, or it’s the toughest window for you to acquire. Either way, this view can be the best window to obtain the highest AV velocity due to the angle of the ultrasound beam in relation to the aortic valve. The velocity in the RPS window will be above the baseline.
- Roll the patient into their right side with the right arm by their head
- Place probe around the 3rd right intercostal space & angle medially (towards patients sternum)
- Don’t be afraid to move up or down an intercostal space, every patient is different!
Additional RPS Tips:
- Rolling the patient more towards the right
- Having the patient exhale and holding breathe (if possible)
IAC REQUIREMENTS
Intersocietal Accreditation Commission (IAC) requires aortic stenosis case studies utilize the non-imaging Pedoff CW Doppler transducer. If your laboratory holds IAC accreditation or is in the process of acquiring, the following should be routinely performed for aortic stenosis case studies:
- Dedicated non-imaging CW Doppler transducer (Pedoff) must be utilized at a minimum of 2 standard views (apical, RPS, SSN).
- Label the location of the velocity obtained.
- If unable to obtain velocity, type “ATTEMPTED” with the location on the image and acquire.
SUMMARY
Pedoff Doppler is extremely helpful in cases that have high valvular gradients, such as aortic stenosis. Utilizing this method can help bring in the highest velocity of a stenotic valve. Learning to use this non-imaging transducer takes time and practice, but provides many benefits to the patient’s outcome.